
Unlocking the Power of Figma AI: A Comprehensive Guide to Image Editing
Introduction to Figma AI Image Editing
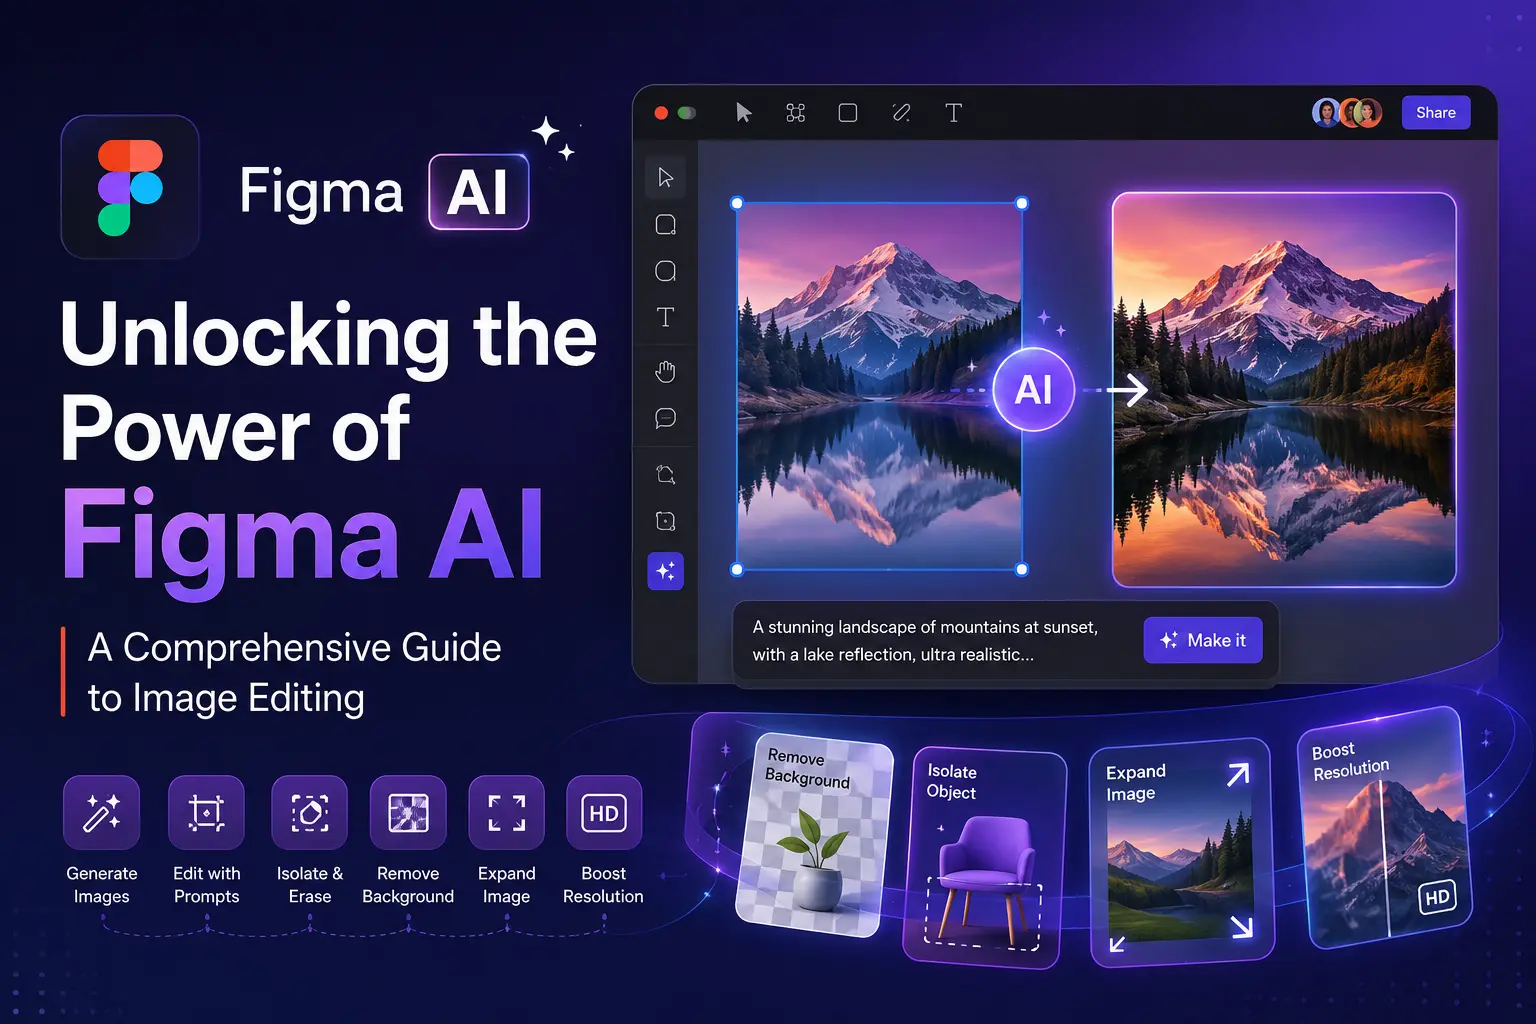
Figma AI offers a range of image editing features that can enhance your design workflow. With Figma AI, you can create and edit images, remove backgrounds, isolate objects, expand images, and boost resolution. In this article, we will explore the various image editing features available in Figma AI.
Make an Image
Use a custom text prompt with Figma AI to make images. You can fill an existing frame or shape, or make an image in a new shape.
To use Make an image in Figma Design, FigJam, Figma Draw, Figma Slides, or Figma Sites:
- Select where you’d like to add the new image. You can select a layer to fill an existing layer, or deselect all layers to make a new image layer.
- Open the Actions menu and select Make an image.
- Enter a prompt in the text field. Try to include as much context as possible.
- From the dropdown menu, select an available AI model.
- (Optional) Add a reference image to influence the output. You can:
- Click Attach image as reference to upload an image from your computer.
- While the prompt is open, click the blue button that appears on images and other layers on the canvas.
- Copy any layer from the canvas, then paste it into the prompt box. You can also copy and paste an image from your computer.
- Drag an image from your computer directly into the prompt box.
- Click Make it or press ⌘Command Enter.
- If you’d like to make any adjustments, click Make changes.
Edit Image
Edit with Prompt
Edit any image with a custom text prompt. You can edit images that were created with Make image, or images that were directly added to your file.
- Select the image you'd like to edit.
- Find the Edit image feature:
- Figma Design, Figma Slides, Figma Sites: From the secondary toolbar, click Edit with prompt.
- FigJam: From the inline toolbar, select AI tools > Edit image with prompt.
- Figma Buzz: From the inline toolbar, select Edit > Edit image with prompt.
- Enter a prompt in the text field. Try to include as much context as possible.
- (Optional) Add a reference image to influence the edit. You can:
- Click Attach image as reference to upload an image from your computer.
- While the prompt is open, click the blue button that appears on images and other layers on the canvas.
- Copy any layer from the canvas, then paste it into the prompt box. You can also copy and paste an image from your computer.
- Drag an image from your computer directly into the prompt box.
- Click Edit image or press ⌘Command Enter.
Isolate or Erase Objects
Use Select area to define an object or area to be isolated as a new image layer or erased from the image.
You can isolate or erase objects in Figma Design, FigJam, Figma Slides, and Figma Buzz.
Erase Object
- Select the image you’d like to edit.
- Find the Select area feature:
- Figma Design, Figma Slides: From the secondary toolbar, click Select area.
- FigJam: From the inline toolbar, select AI tools > Select area.
- Figma Buzz: From the inline toolbar, select Edit > Select area.
- Use the lasso to click and drag over the area or object you want to select.
- Release the mouse click when you’re done selecting.
- Click Erase.
Isolate Object
- Select the image you’d like to edit.
- Find the Select area feature:
- Figma Design, Figma Slides: From the secondary toolbar, click Select area.
- FigJam: From the inline toolbar, select AI tools > Select area.
- Figma Buzz: From the inline toolbar, select Edit > Select area.
- Use the lasso to click and drag over the area or object you want to select.
- Release the mouse click when you’re done selecting.
- Click Isolate.
Once isolated, the area will be turned into a new image layer.
Remove Background
You can use Figma AI to remove the background from any image. This comes in handy when layering an image over a design or to isolate the primary object in an image.
- Select one or more images you want to edit.
- Find the Remove background feature:
- Figma Design, Figma Slides, Figma Sites: From the secondary toolbar, click Remove background.
- FigJam: From the inline toolbar, select AI tools > Remove background.
- Figma Buzz: From the inline toolbar, select Edit > Remove background.
Expand Image
Extend images beyond their original borders using AI.
You can use Expand image in Figma Design, FigJam, Figma Slides, and Figma Buzz.
- Select one or more images you want to enhance.
- Find the Select area feature:
- Figma Design, Figma Slides: From the secondary toolbar, select More > Expand.
- FigJam: From the inline toolbar, select AI tools > Expand.
- Figma Buzz: From the inline toolbar, select Edit > Expand.
- Click and drag the blue handles around the image to crop the image in the direction you want to expand it. You can also use the aspect ratio dropdown to pick a new size.
- Click the blue check to expand the image.
Boost Resolution
You can use Figma AI to enhance the clarity of low-resolution images.
- Select one or more images you want to enhance.
- Find the Boost resolution feature:
- Figma Design, Figma Slides, Figma Sites: From the secondary toolbar, click More > Boost resolution.
- FigJam: From the inline toolbar, select AI tools > Boost resolution.
- Figma Buzz: From the inline toolbar, select Edit > Boost resolution.
If you're weighing this for your own project, that's the kind of decision we help with at Chulbul Design.
Frequently Asked Questions
What is Figma AI?
Figma AI is a set of artificial intelligence-powered tools that can be used to create and edit images, as well as perform other design-related tasks.
Can I use Figma AI for free?
Figma AI is available on paid plans, and requires can-edit file access.
How do I get started with Figma AI?
To get started with Figma AI, simply select the image you want to edit, and then find the relevant feature in the secondary toolbar or inline toolbar.